How to backup your DVD archive to the cloud

Those are DVDs forming a cloud. Thank god I didn’t become an illustrator.
I’ve always been pretty obsessive about backing up my files and back in the day when HDDs were expensive and cloud storage wasn’t a suitable option yet, burning my files to CDs and later DVDs was my strategy of choice.
Now, 10–15 years later, I still have this massive archive of DVDs around and none of my computers actually have a DVD player anymore. I figured if I wanted long-term access to all these files locked away in that ancient medium I shouldn’t wait much longer re-digitizing them. I figured the best place to store them was in the cloud, but first I’d need to copy all the files to my computer. With 100+ DVDs that might take a while, right?
Well, yes. It did take a while, but I was able to automate most of the process.
Eventually I got my workflow set up so that I simply inserted a DVD, my script would do its thing, and when every file was copied to my HDD the drive would eject itself and I’d get a desktop notification telling me whether the copy was successful or not. I then inserted the next DVD, and so forth.
Finally, I uploaded my files to the cloud using Arq and Amazon Cloud Drive which is pretty straightforward. Just configure Arq to watch your folder of DVD files and it will do its thing all by itself.
There are two parts to this workflow which I’ll share below.
The first part is actually copying the files to your HDD in a way that preserves things like the creation dates, file permissions, etc. Ideally it would also be quite flexible so for example if we accidentally run out of HDD space and need to re-import the same DVD we don’t want to start from scratch nor do we want to end up with duplicate files. We take care of all this using a relatively simple shell script.
The second part is automating the process of running that shell script every time we insert a new DVD. The goal here is to do as little work as possible so we just want to take out a DVD and insert the next one without needing to click any buttons or manually run any scripts. Luckily Mac OS X has something built-in called launchd which is a magical thing that automates all sorts of things on your Mac.
Getting an external DVD player
I have an iMac and MacBook Pro, neither of which have a built-in DVD player so I needed to buy an external one. Apple’s USB SuperDrive is $79 which is a bit steep considering it would be obsolete after I imported all my DVDs.
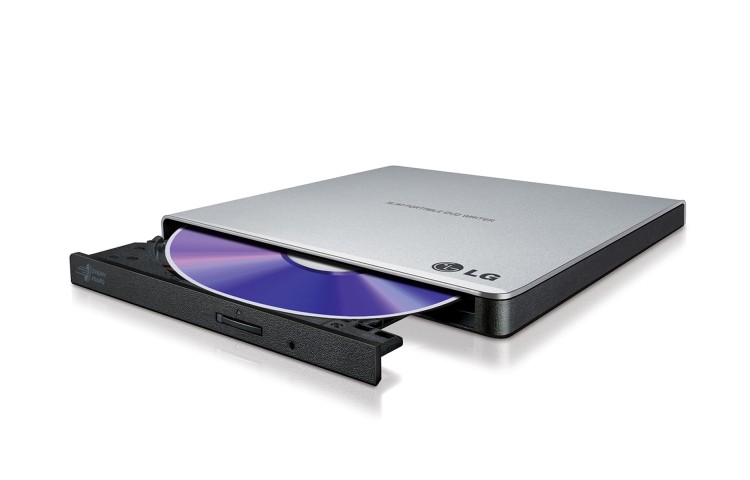
The LG GP57ES40
After doing a little bit of research I realized there wasn’t much difference between all the USB DVD players on the market. They all got the same reading speed (“8x”) and cost around $30. I went with the LG GP57ES40. It’s actually a DVD writer, not just a reader. I don’t think they sell readers anymore.
The shell script
I didn’t have much experience working with shell scripts, so I googled around and found an old Metafilter thread where people shared some of their scripts. I based my script on one created by ‘mrzarquon’ so credits to him! 🙏
Here’s what my script ended up looking like:
To execute it on your Mac you’ll need to download the file, and then make it ‘executable’. This is a security measure to make it just a little harder for someone to mess with your system. To make the script executable follow these steps:
- Download the script
- Open the Terminal
- Type: cat (with a space at the end!)
- Drag the script file from the Finder to the Terminal.
- Press Enter.
- You’ll now see the contents of the script. Make sure there’s nothing fishy in there. While this step is optional, I highly recommend you always check the contents of a shell script you find online before you run it.
- Type: chmod +x (again, with a space at the end)
- Drag the file from the Finder to the Terminal.
- Press Enter.
- Boom! The script is now executable. In case you were wondering chmod stands for change mode and x means eXecutable. The plus sign simply means “whatever the current mode is, also make it executable.”
Now we’re almost ready to run the script, but you first need to make a few changes. You’ll need to specify the location of your DVD drive, and where you want to copy the files to. For this you’ll need to edit the script with a text editor. TextEdit works, just be careful not to make any mistakes editing or the script won’t work anymore.
Here’s what you’ll need to change:
- Replace both occurrences of /dev/disk2 with the location of your DVD drive which you can find out by running df in the Terminal and finding the corresponding Volume name.
- Replace /Volumes/MyBook 1TB/DVDs/ with the location of where you want to copy your DVD files to. The script will automatically create a separate folder for each DVD. Save your changes and return to the Terminal. You can simply drag the file to your Terminal and press Enter to execute it.
Of course, first make sure you have inserted a DVD 😁
You should now see your files being copied…

This might take a while depending on the amount and size of the files you’re importing. When it’s finished your DVD tray will eject and you should see a notification like this:
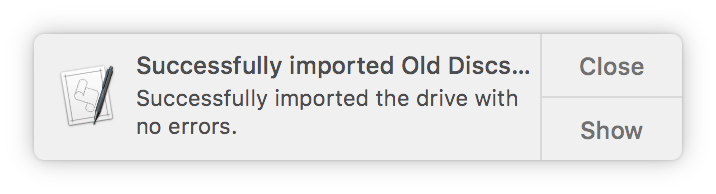
If the notification automatically disappears and you’d like for it to stay until manually closed you can go to System Preferences > Notifications > Script Editor and set it to Alerts.

Note that this will affect notifications of other scripts too. If you’re curious about how the script works here’s what’s going on:
- Check whether a drive is inserted.
- Use rsync to incrementally copy the files to your HDD. We use rsync because it’s very versatile and if for some reason we need to exit the script halfway through we can safely continue at a later point.
- We use the following flags: aEpv which do the following:
a: archive mode (basically means make a 1:1 copy of the files)
E: preserves executability (optional, but makes sure scripts still work)
p: preserves permissions
v: increase verbosity (so rsync outputs what is going on) - If rsync completes without errors we get a notification in Notification Center telling us everything went well. The drive is then ejected so we can add the next one.
- If rsync completes with an error, we get a notification in Notification Center telling us what went wrong. The drive is then ejected so we can add the next one (and examine the current disk at a later time.)
Using launchd to automatically run the script
Okay sweet, so the script takes care of copying all the files and folders and even if you break off the process halfway through it will simply continue where it left off the next time you enter the same DVD. Nifty!
We don’t want to have to run the script every time we insert a DVD though, do we? Nope, we don’t. So let’s automate this as well.
For this we’ll use launchctl which interacts with launchd.
We want to tell launchd to watch the /Volumes folder and run our script whenever something changes (like a DVD being mounted!). Since launchd doesn’t understand English yet we need to tell it using something it does understand called a Launch Agent. Here’s what it looks like:
The plist format is a little strange, but other than that it’s pretty straightforward. We set /Volumes as our WatchPaths which means launchd will run the script found in ProgramArguments whenever something changes in /Volumes
You’ll want to change all the paths to match yours!
You’ll also notice we set two log locations so we can still keep track of what’s happening as we won’t be opening the Terminal anymore and thus don’t get to see the script’s output. To watch these logs you can run tail -f /location/to/log in the Terminal or use the Console.app that comes with Mac OS X which basically does the same thing, but with a nicer interface.
To activate this launch agent follow these steps:
- Download the file
- Copy it to ~/Library/LaunchAgents
- Make the necessary path changes as explained above
- Run the following Terminal command:
- launchctl load ~/Library/LaunchAgents/com.marckohlbrugge.batchImportDvds.plist We use launchctl load to load the launch agent. You can use launchctl unload ~/Library/LaunchAgents/com.marckohlbrugge.batchImportDvds.plist to deactivate it again which you’ll want to do when you’re done importing all files.
Now whenever you insert a DVD it will run the script, which will copy all the files and eject the drive when done.
Moving everything to the cloud
Finally, you probably want to move all these files off your hard drive to the cloud. I personally use Amazon Cloud Drive together with Arq which makes uploading and encrypting a breeze. You could also use something like Dropbox, but I like the combination of Amazon Cloud Drive and Arq because my files will be encrypted with Arq and there’s no storage limit with Amazon Cloud Drive.
Some final tips
- If you get an error importing a DVD make sure it’s clean and try again. Often the second try works fine for me.
- If you still run into problems check the logs and make sure you have enough space left on your hard drive.
- If you come across particularly old files and you’re unsure what format they are you can use the file command in the Terminal to identify what type of file it is. This command doesn’t rely on the filename extension, but actually looks into the file to see what it is.
- If Mac OS X misidentifies a DVD as being blank and you’re sure there’s data on it, the disc is probably “unfinalized”. I suggest Googling this issue to find out possible solutions. I personally had to resort to a Windows application called IsoBuster.
If you have any questions or suggestions to improve the workflow please let me know.
Here's where I try to convince you to subscribe to my newsletter so I become less dependent on Twitter and other media when publishing new blog posts or launching new projects.
I will email a few times per year. You can opt out anytime.